
Why Beans & Rice/Grains Cause Gas, Bloat, and Food Reactions (and How to Fix It)
🫘You know the rhyme:
“Beans, beans, the magical fruit, the more you eat, the more you toot…”
But it’s not just a joke — beans really are hard to digest.
Why?
Beans, grains, quinoa, and legumes contain phytates and lectins — natural compounds that:
🚫 Block mineral absorption
These anti-nutrients actually steal minerals from your body and reduce your absorption of the good stuff in the rest of your meal / whatever you’re eating the grains or beans with.
🫘 Irritate sensitive guts
Especially in kids (& adults) with eczema, food allergies, and intolerances, the compounds in rice/beans stress the gut lining and can trigger immune responses.
🫣 Cause gas, bloating, eczema flares, and food sensitivities
Even in adults — especially breastfeeding moms, kids with allergies, or those on a gut healing journey.
The Good News
With one simple step, you can help reduce all of the above — and make beans more nourishing and way easier to digest.
🎉 It’s called soaking & souring.
Soaked + Soured Beans/Grains (How-To Guide)
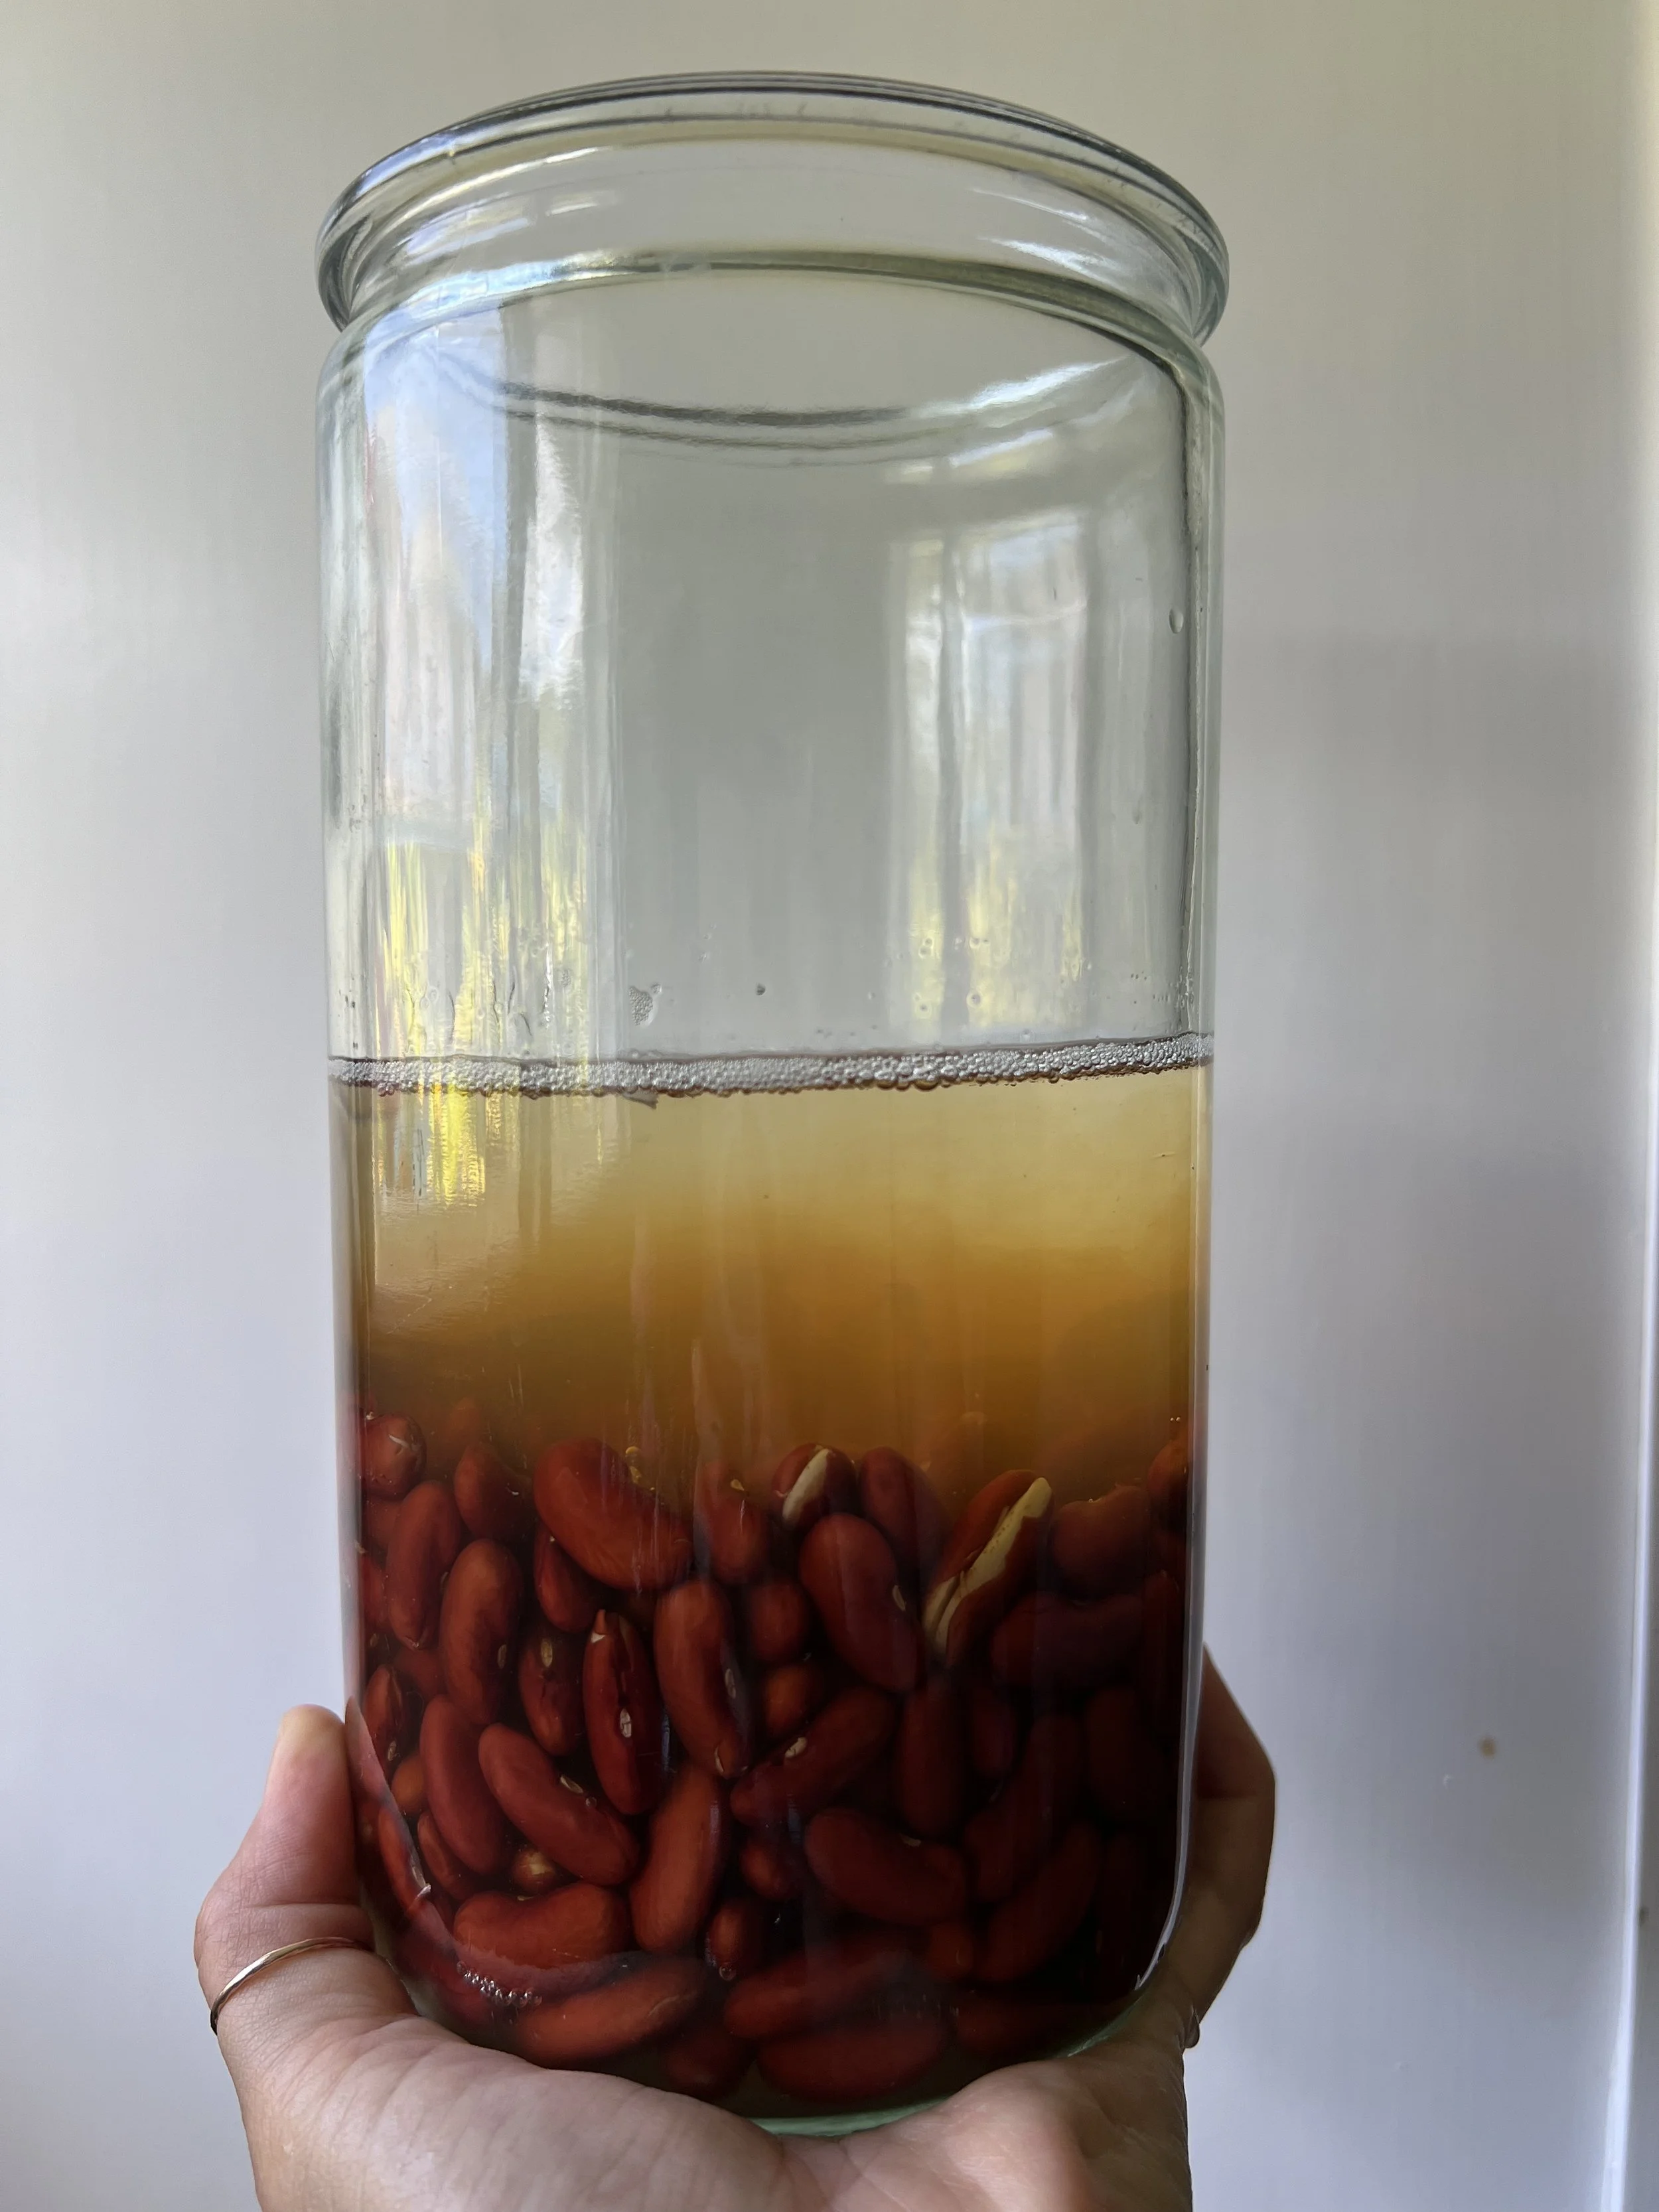
Beans soaking & souring in water + ACV
you can see the phytic acid released. This is digestion-improving preparation in a nutshell.
🫘 Ingredients:
1 cup dried organic beans / grains (we’re currently obsessed with kidney beans)
1 tbsp raw apple cider vinegar or fresh lemon juice
(ratio = 1 tbsp acid per 1 cup beans/grains/rice)3–4 cups warm filtered water (beans will expand, so give them room)
Instructions:
Thoroughly rinse beans then combine with warm water, & vinegar/lemon juice in a large bowl.
(Glass or ceramic is best for this)Cover loosely. And THAT’S IT!
(I just pop a lid on top to keep bugs out but cheese cloth works great here to keep bugs out)Let sit at room temp for 12–24 hours
(24 hours is ideal for max benefit - I like to let it soak/sour overnight so it’s ready by the AM).Rinse thoroughly and drain. Cook as you normally would with fresh filtered water.
Instant Pot Cooking Instructions:
Optional but highly recommended: sauté ½ a diced onion in 1 tbsp grass-fed tallow or ghee using the sauté function.
Add your soaked, rinsed beans +
3 cups filtered water or broth/stock (for more flavor + nutrient boost)
1 organic bay leaf
3 cloves minced organic garlic
2–3 inch strip of kombu (seaweed — for easier digestion + minerals!)
Set to Pressure Cook on high for 45 minutes.
(Note: If you only soaked 12 hours, they may still be a little firm — just extend the time slightly or use a slow cook finish.)Add sea salt to taste after cooking — this keeps the skins soft and tender.
Why Add Kombu?
🌿 Breaks down complex sugars that usually cause bloating + gas
💪 Adds minerals like iodine and trace elements
🍲 Deepens flavor (think umami boost)
🛟 Supports digestion — especially helpful for kids with eczema, allergies, or sensitive bellies
Note: Kombu is different from nori, wakame, etc. So make sure you get the right one!
Why You Should Rinse Before Soaking Beans/Rice
1. Removes Excess Starch That Causes Gumminess
When you thoroughly rinse before soaking, you wash off the surface starch that makes rice sticky in a bad way (gluey instead of pleasantly sticky).
If you skip rinsing and go straight to soaking, the starch just reabsorbs into the water and coats the grains more deeply, which leads to:
Clumpy, uneven texture
Increased chance of mushy or gummy rice
2. Prevents Off-Flavors / Makes the Soak & Souring Effective
Dust / leftover powder on grains/beans can ferment weirdly during soaking/souring process
Rinsing first removes all that so your souring/soaking is more effective (cleaner beans/grains allows for better enzyme activity)
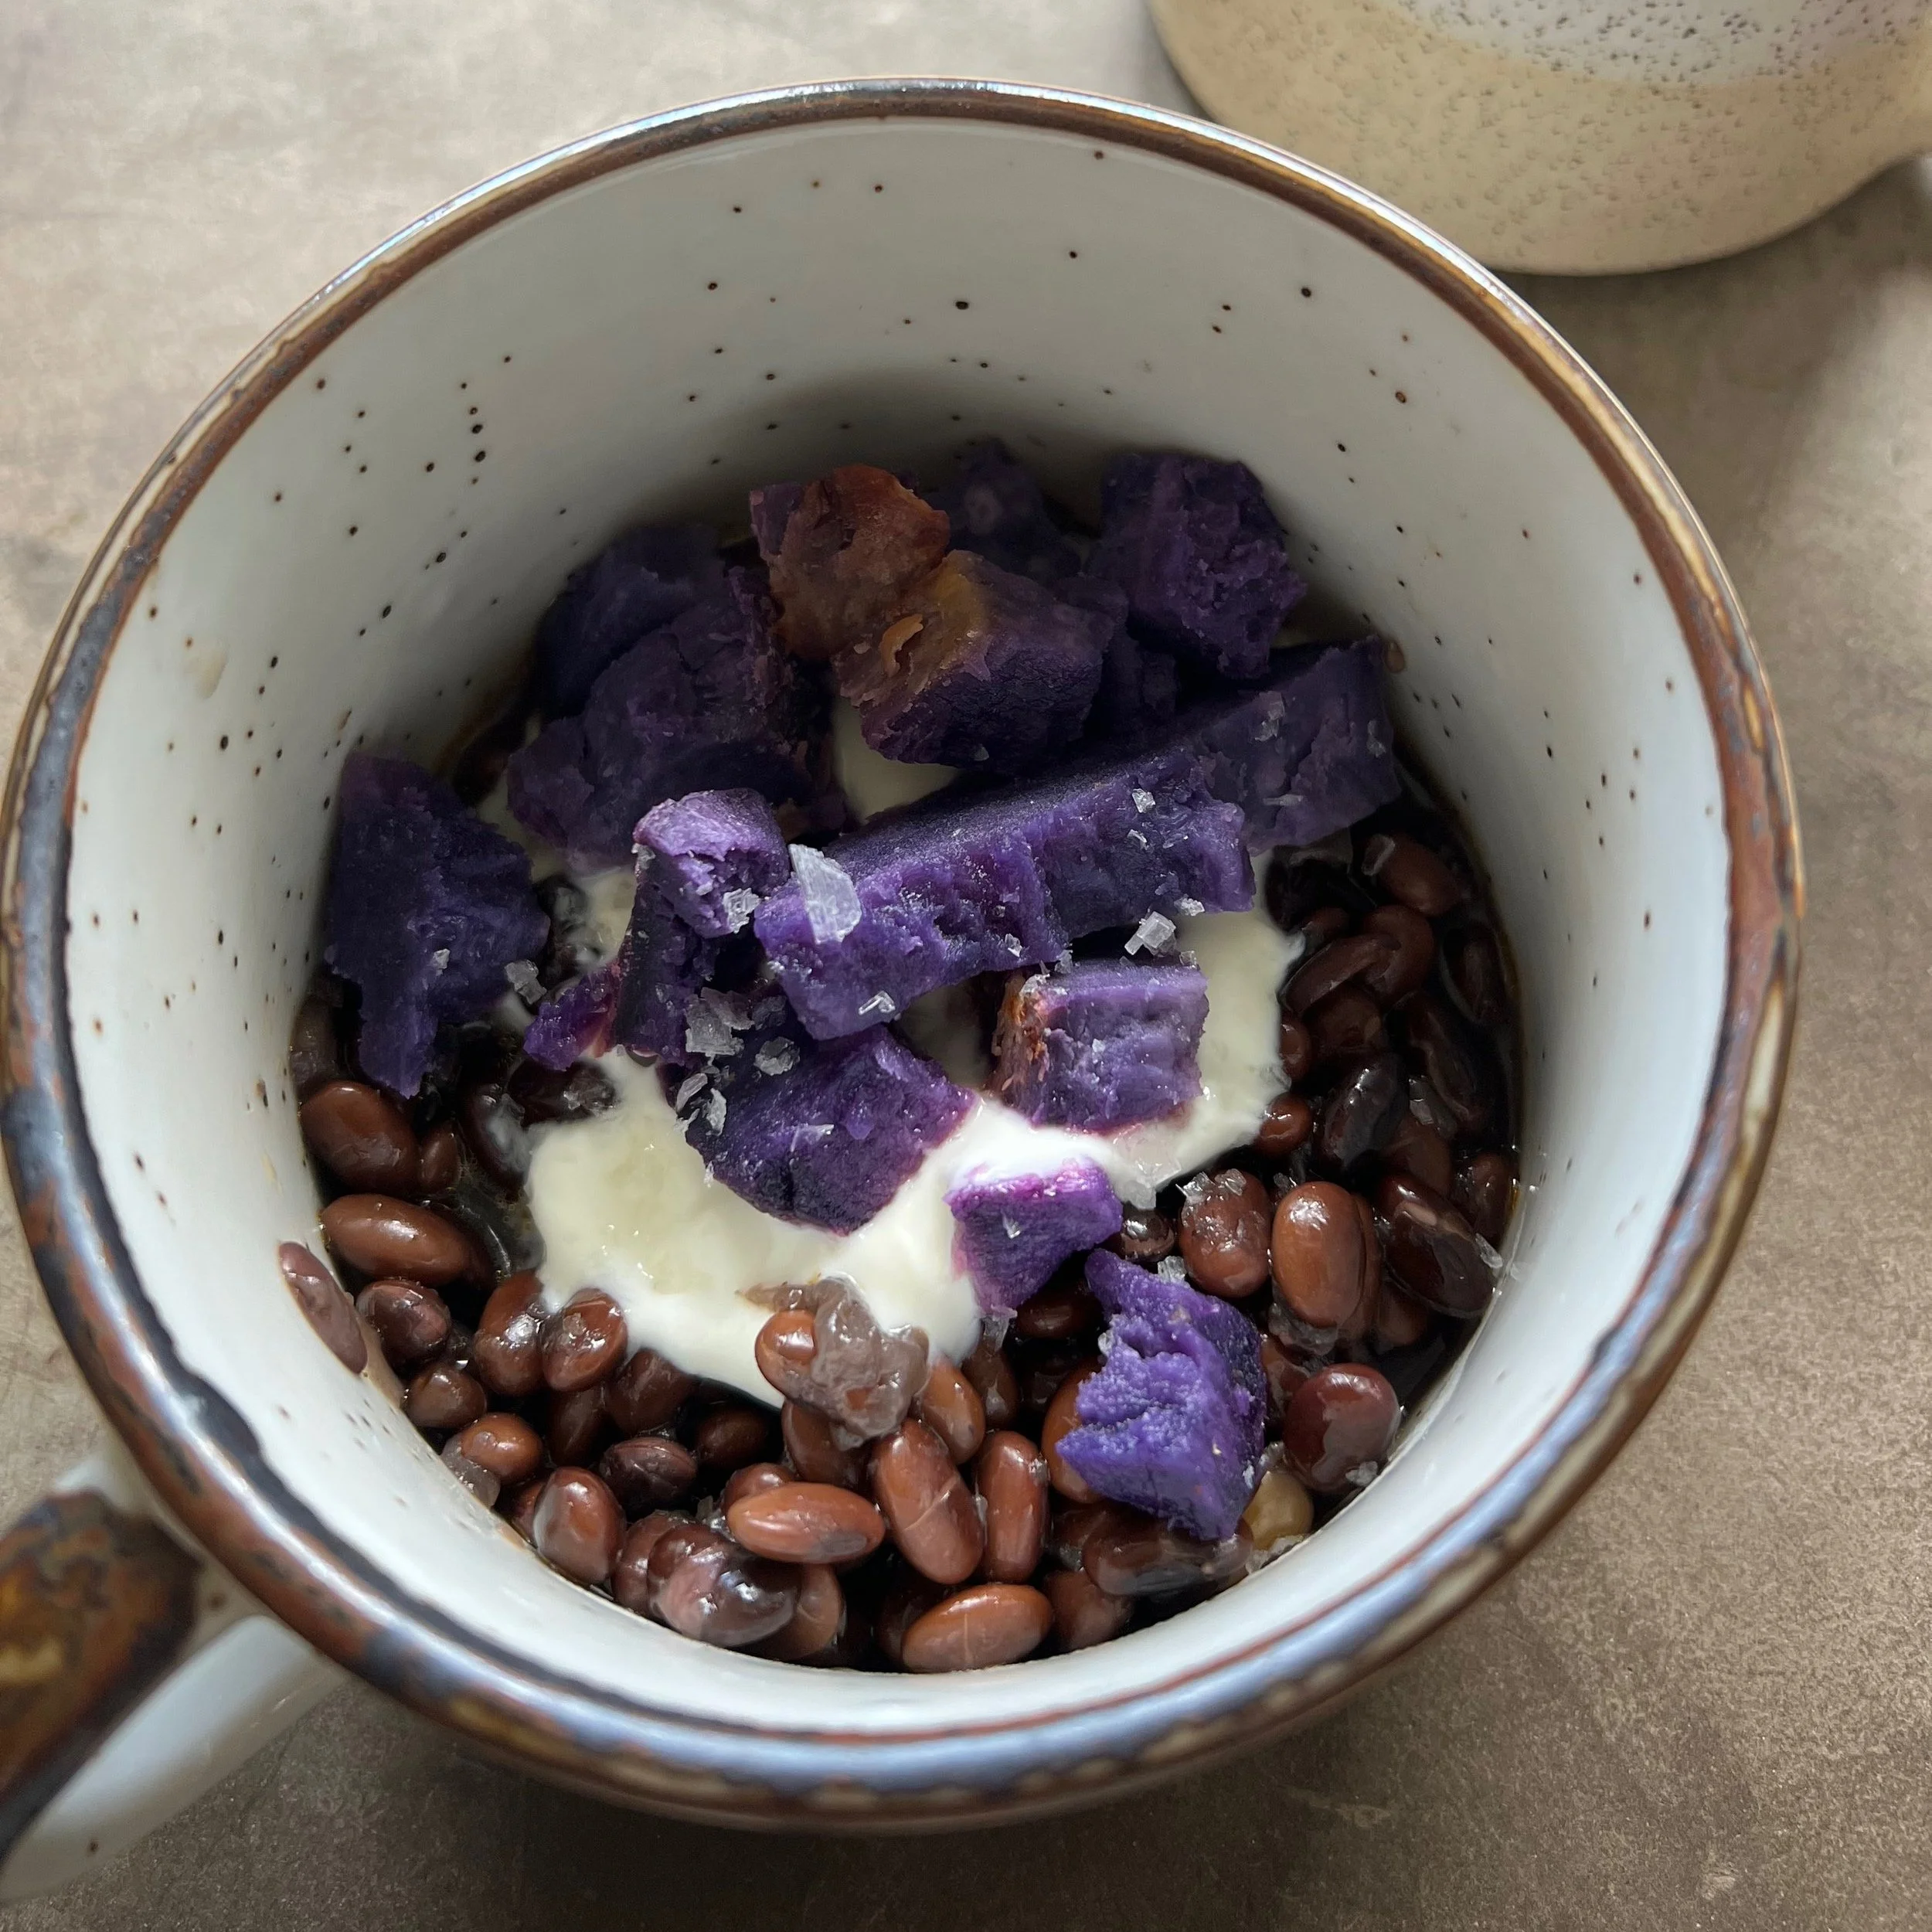
My Favorite Bean Bowl Pairing Trio:

Soaked and soured beans with my favorite toppings for a gut-friendly, protein-rich meal
Because at the end of the day, it’s all about toppings, amirite?!
My homemade green sauce (Recipe here!)
Yogurt (if tolerated) — Cocojune unsweetened, or Bellwether A2 grass-fed plain yogurt
Boiled eggs on top (also if tolerated — protein boost!)
Safe for ages 9+ months
Soaked & soured beans are typically safe for babies 9 months and older (skin removed / beans smashed), especially once they’ve had exposure to legumes without reactions. Always consult your practitioner if you’re unsure, especially for allergy-prone kiddos!
🧊 Storage
Store cooked beans in the fridge for up to 5 days
Freeze in glass containers or silicone cubes for up to 3 months