
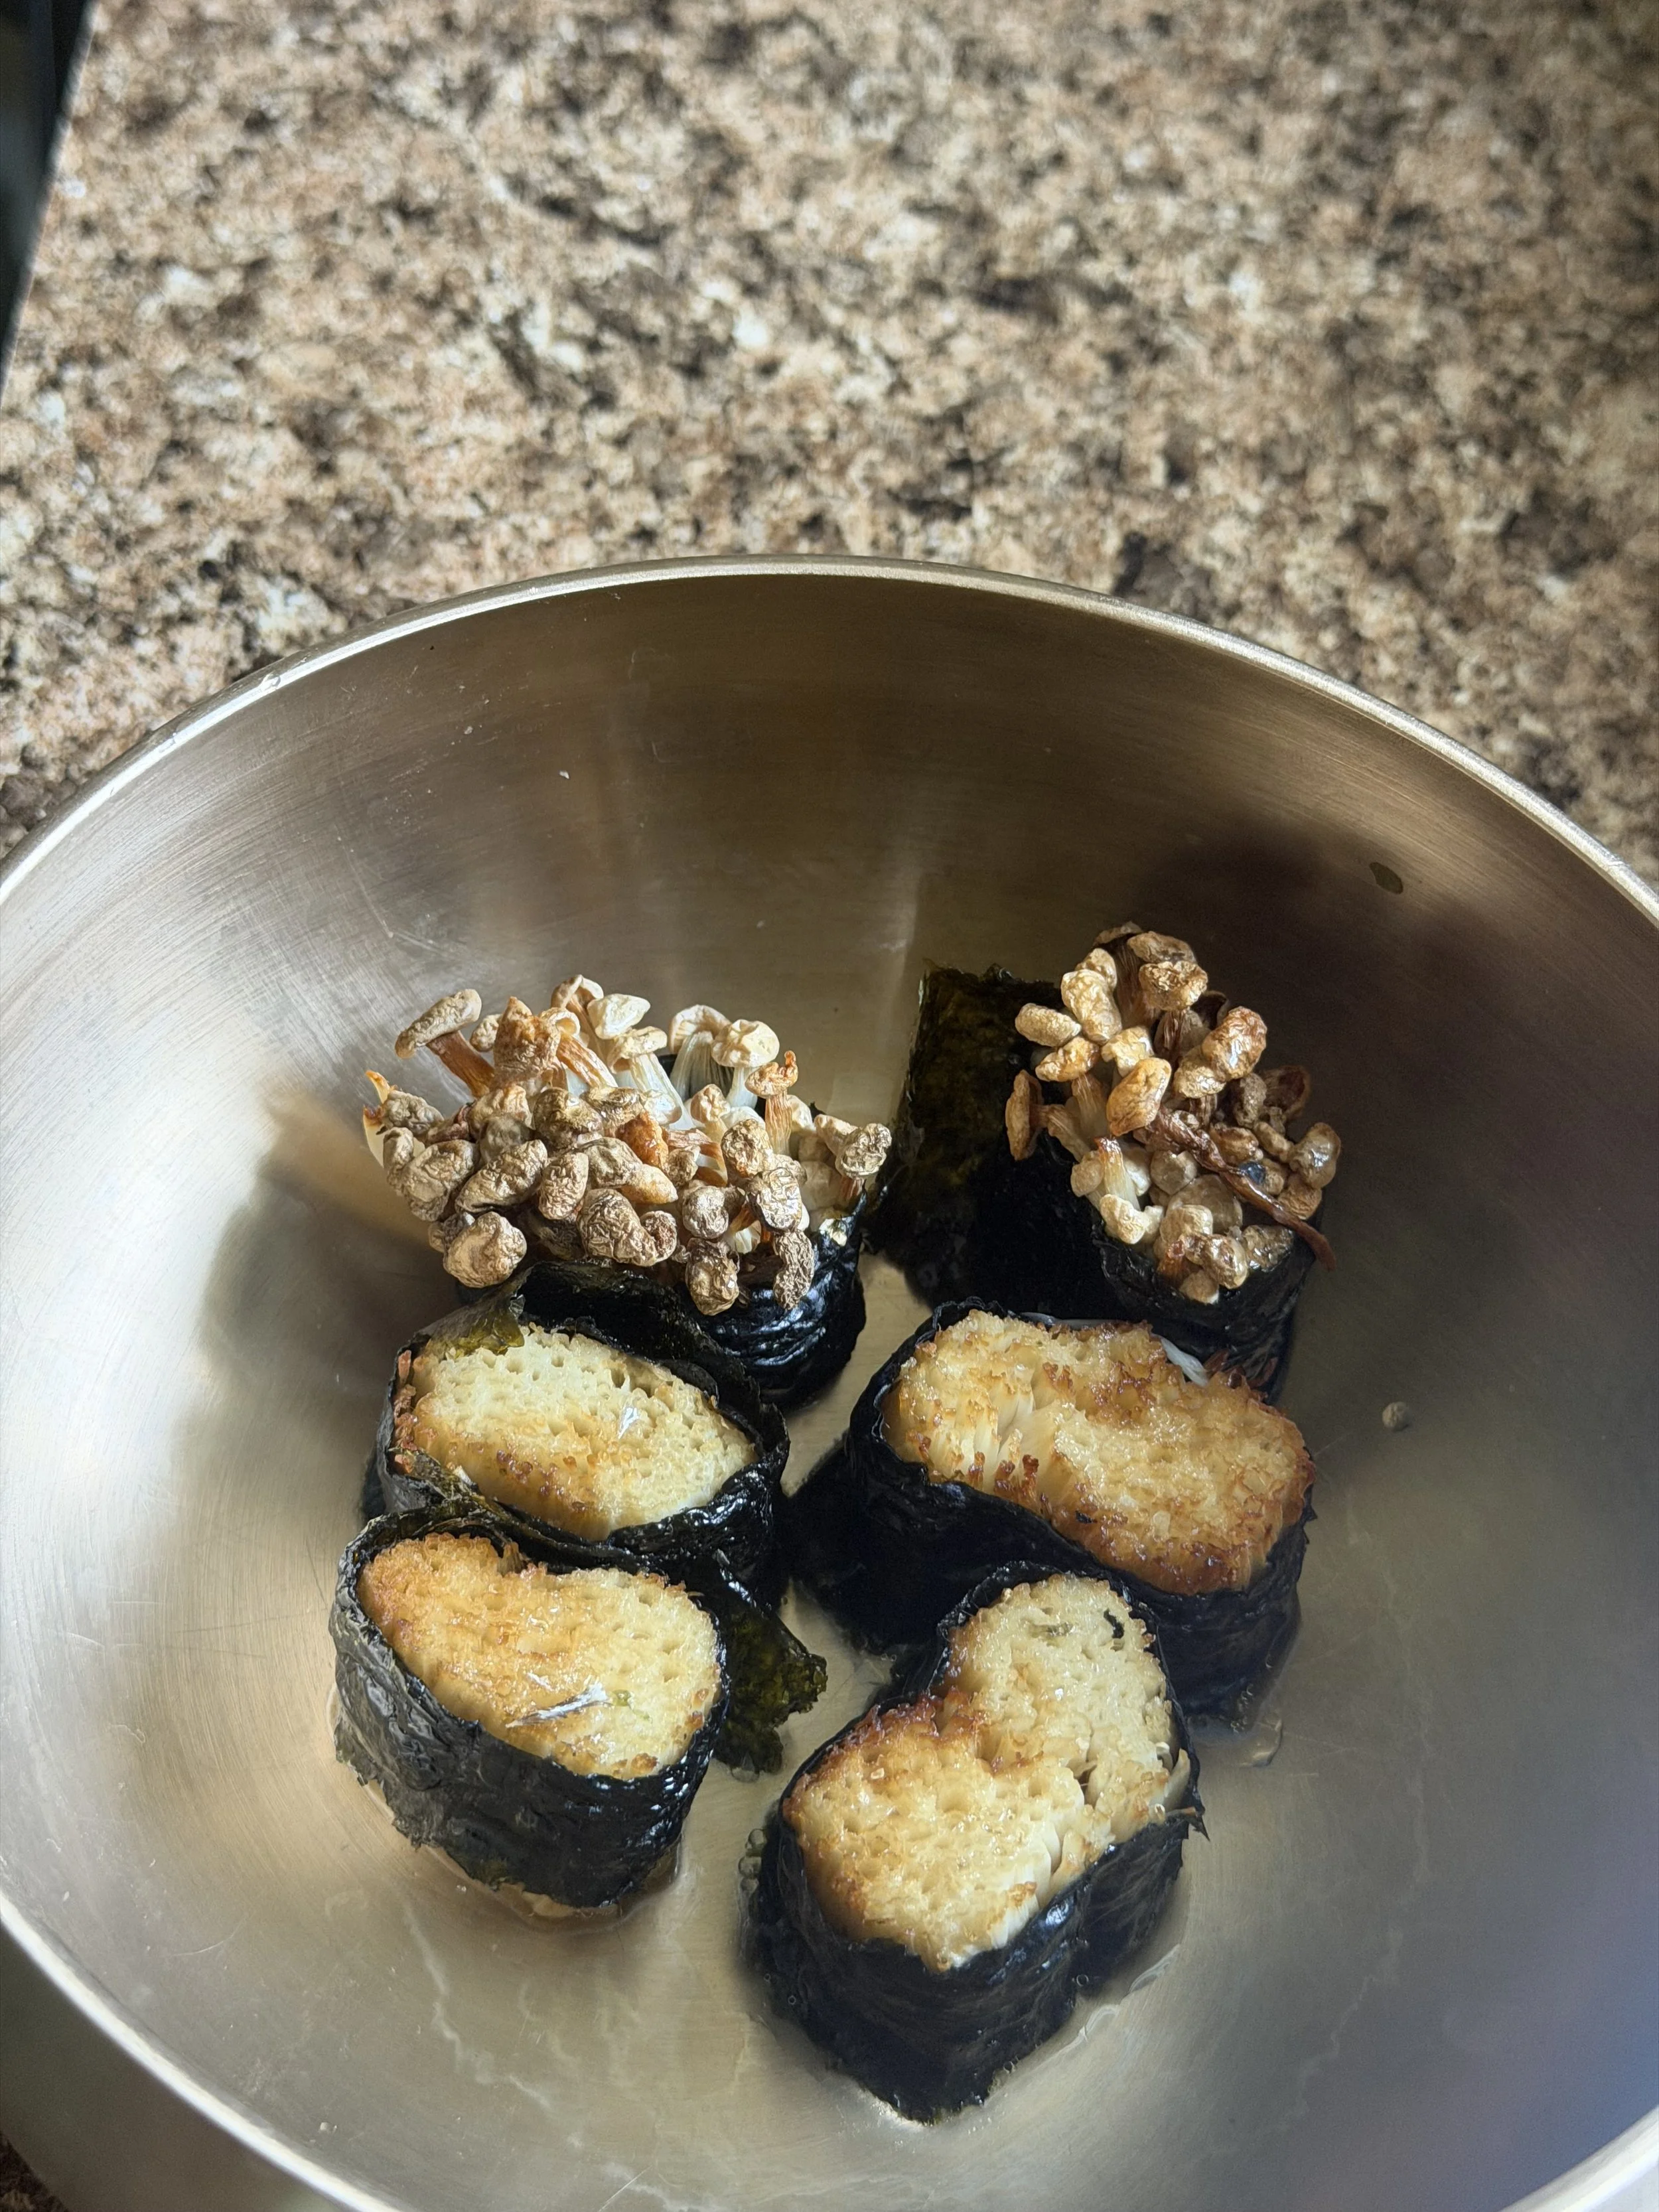
3 Ingredient Enoki Nori Wraps (mum & kid-approved)
Crispy nori, tender enoki mushrooms, and a little grass-fed tallow create the best texture— One of my favorite ways to turn just a few simple ingredients into a snack my kids genuinely get excited about.
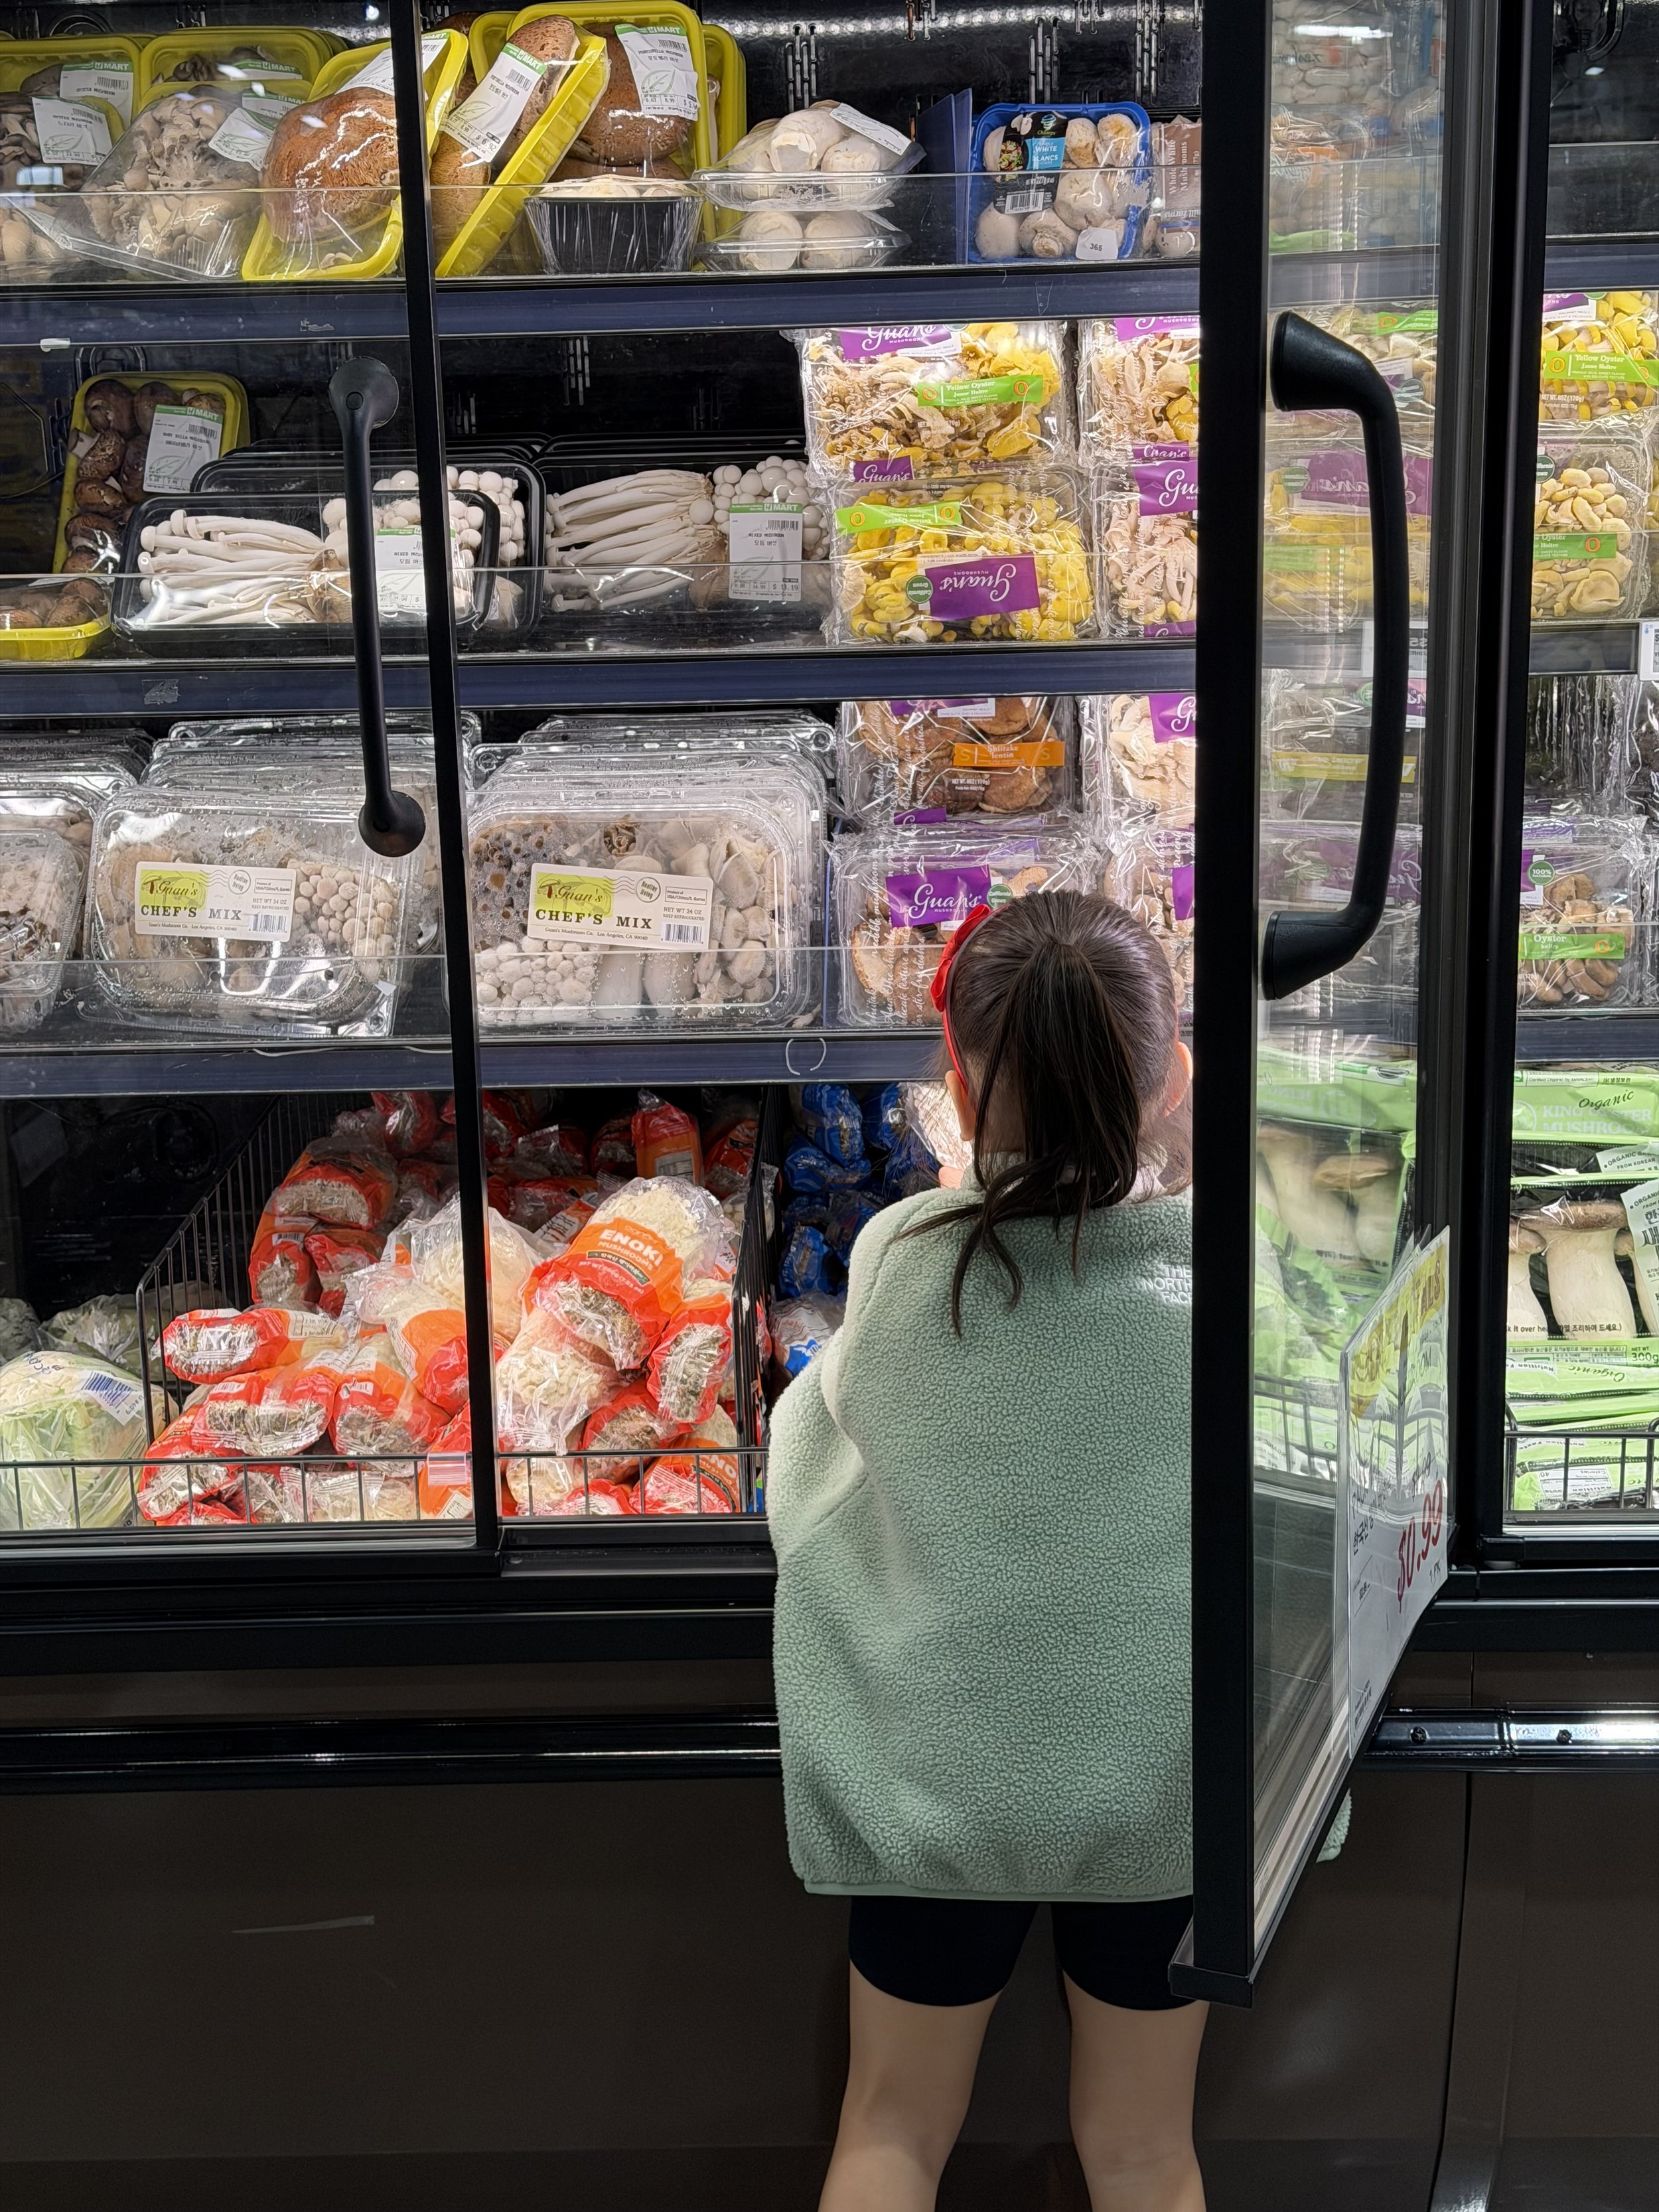
10 things I always buy at H Mart (that most people walk right past)
10 foods I NEVER skip at H Mart as a holistic nutrition consultant
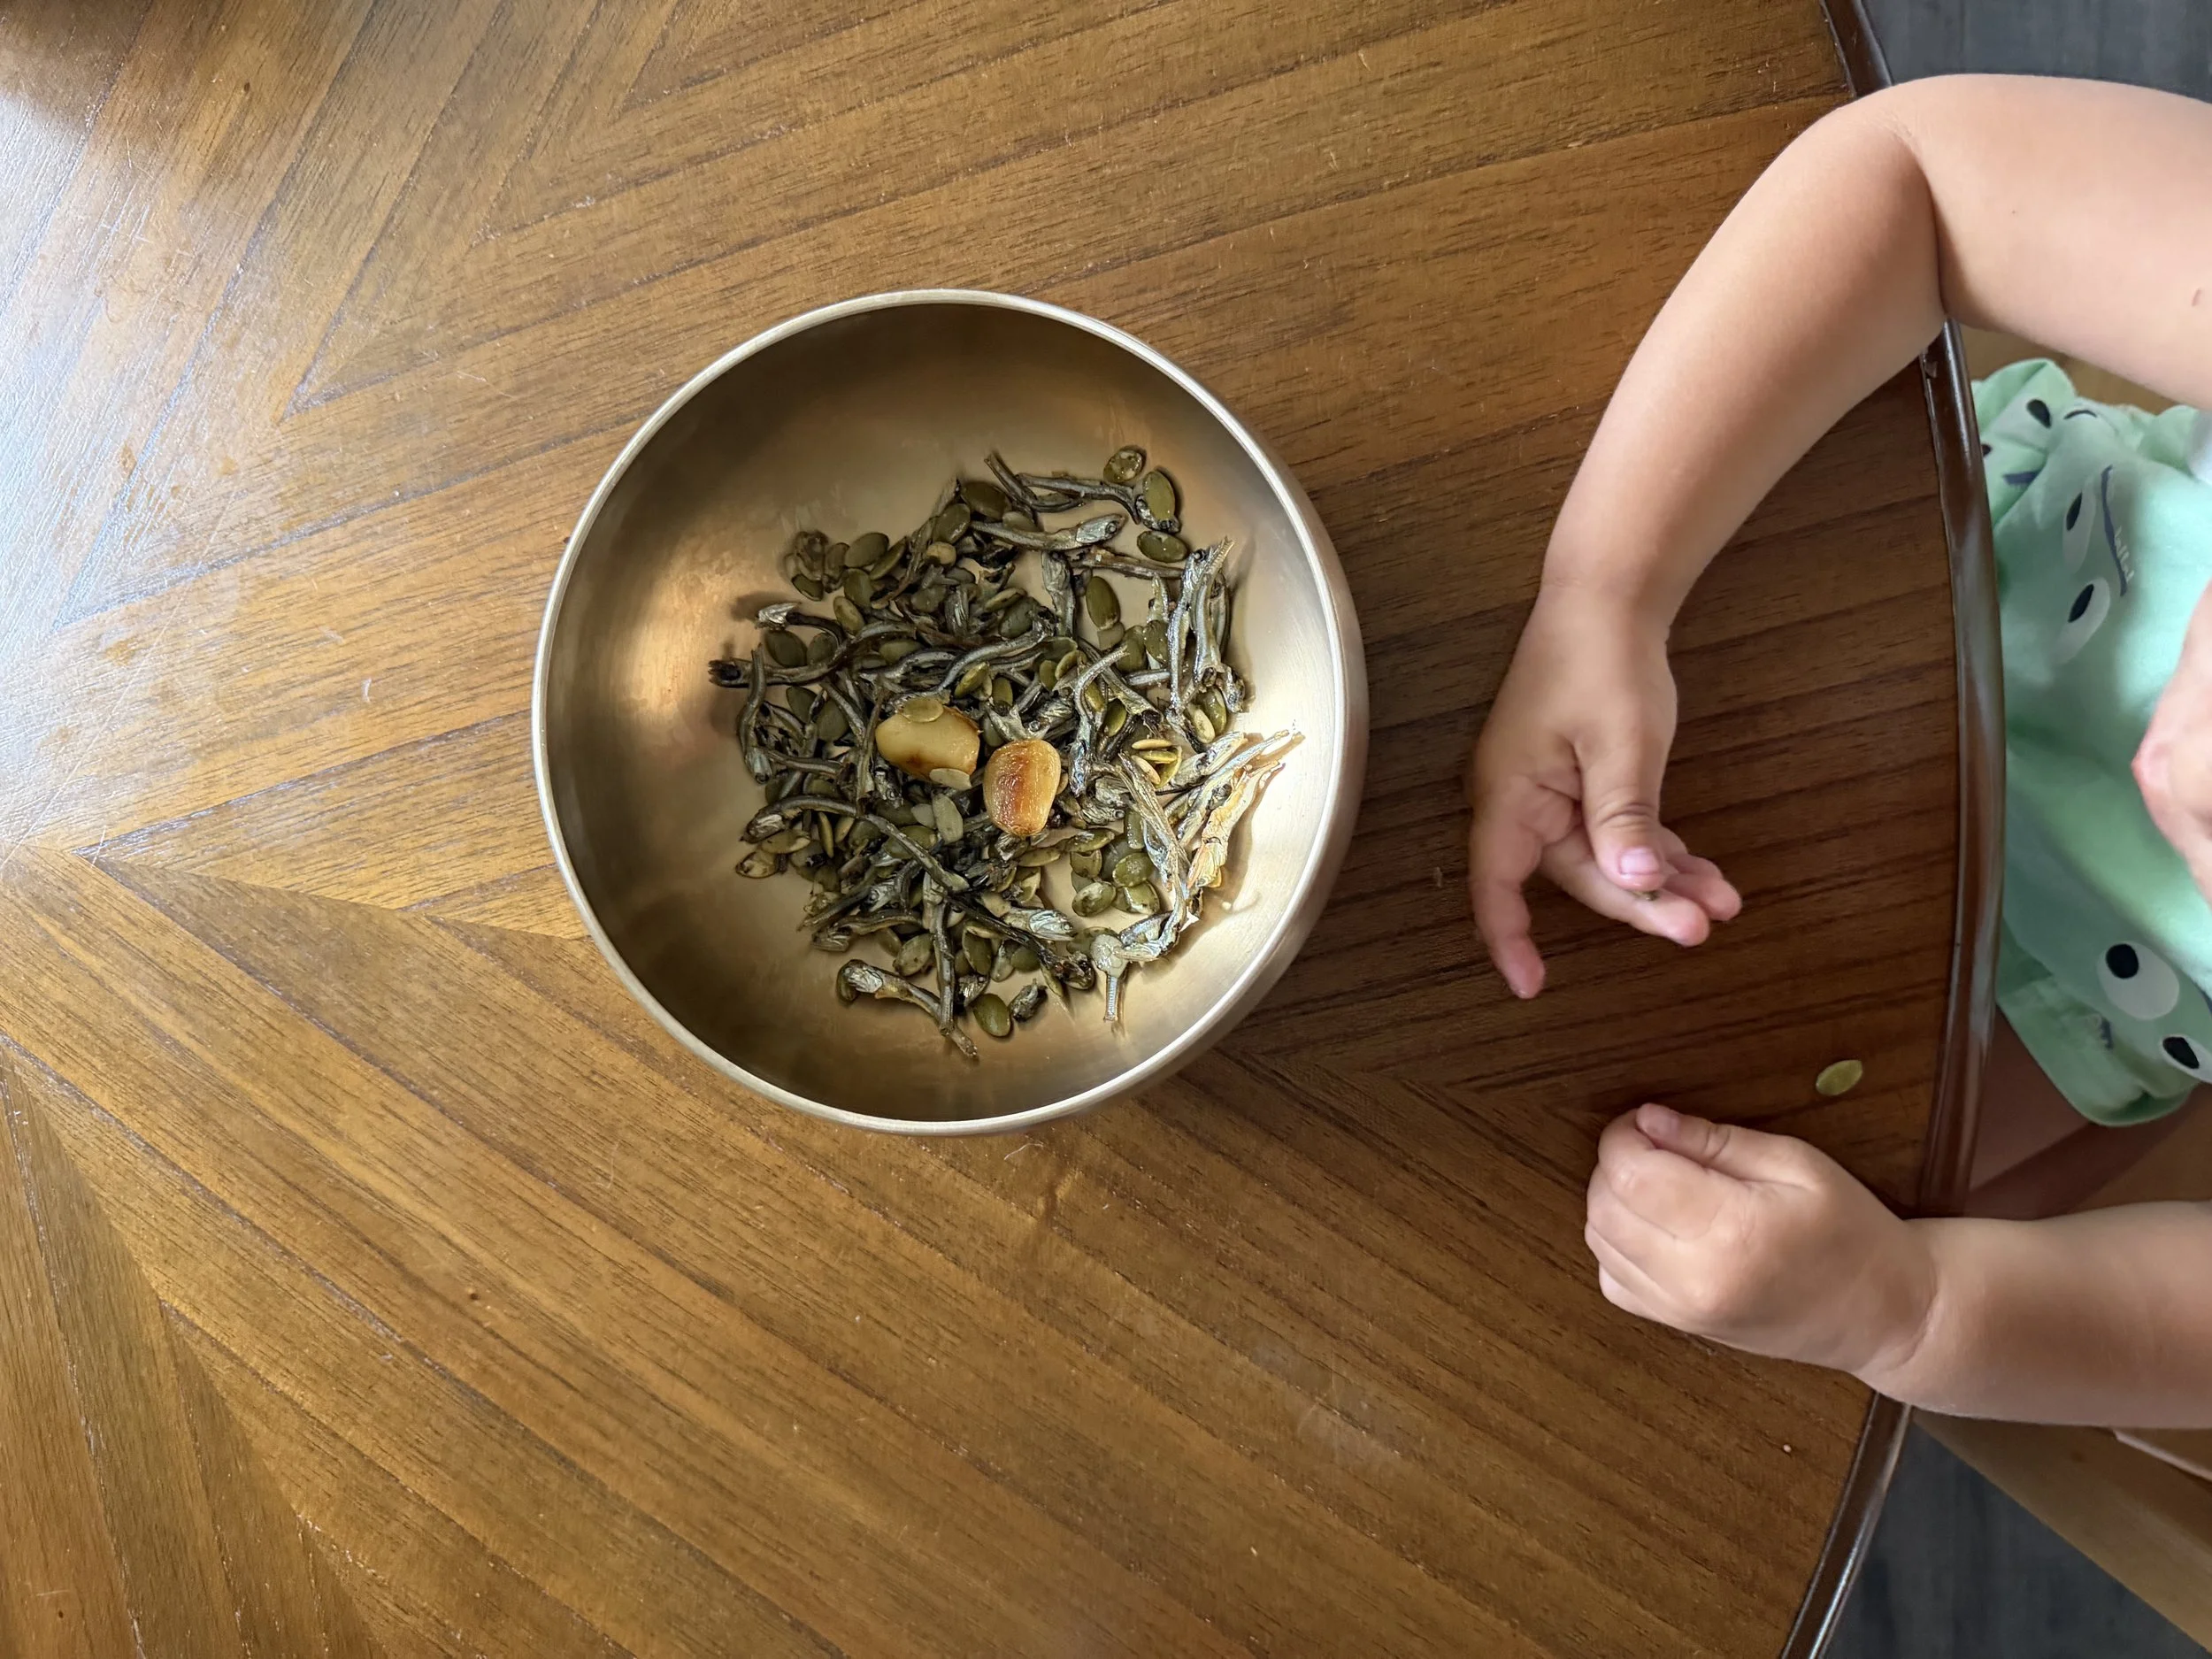
Stir-Fried Anchovy Korean Side Dish (Myeolchi-Bokkeum)
Here's the gut-healthy Korean anchovy recipe that's become a staple in our home. Rich in naturally occurring calcium and other nutrients because you eat the whole fish—not just the fillet. I also included the exact ingredients I use and why I chose each one.